

Profile Projector: How to Choose the Right One for Your Needs
2026-09-17
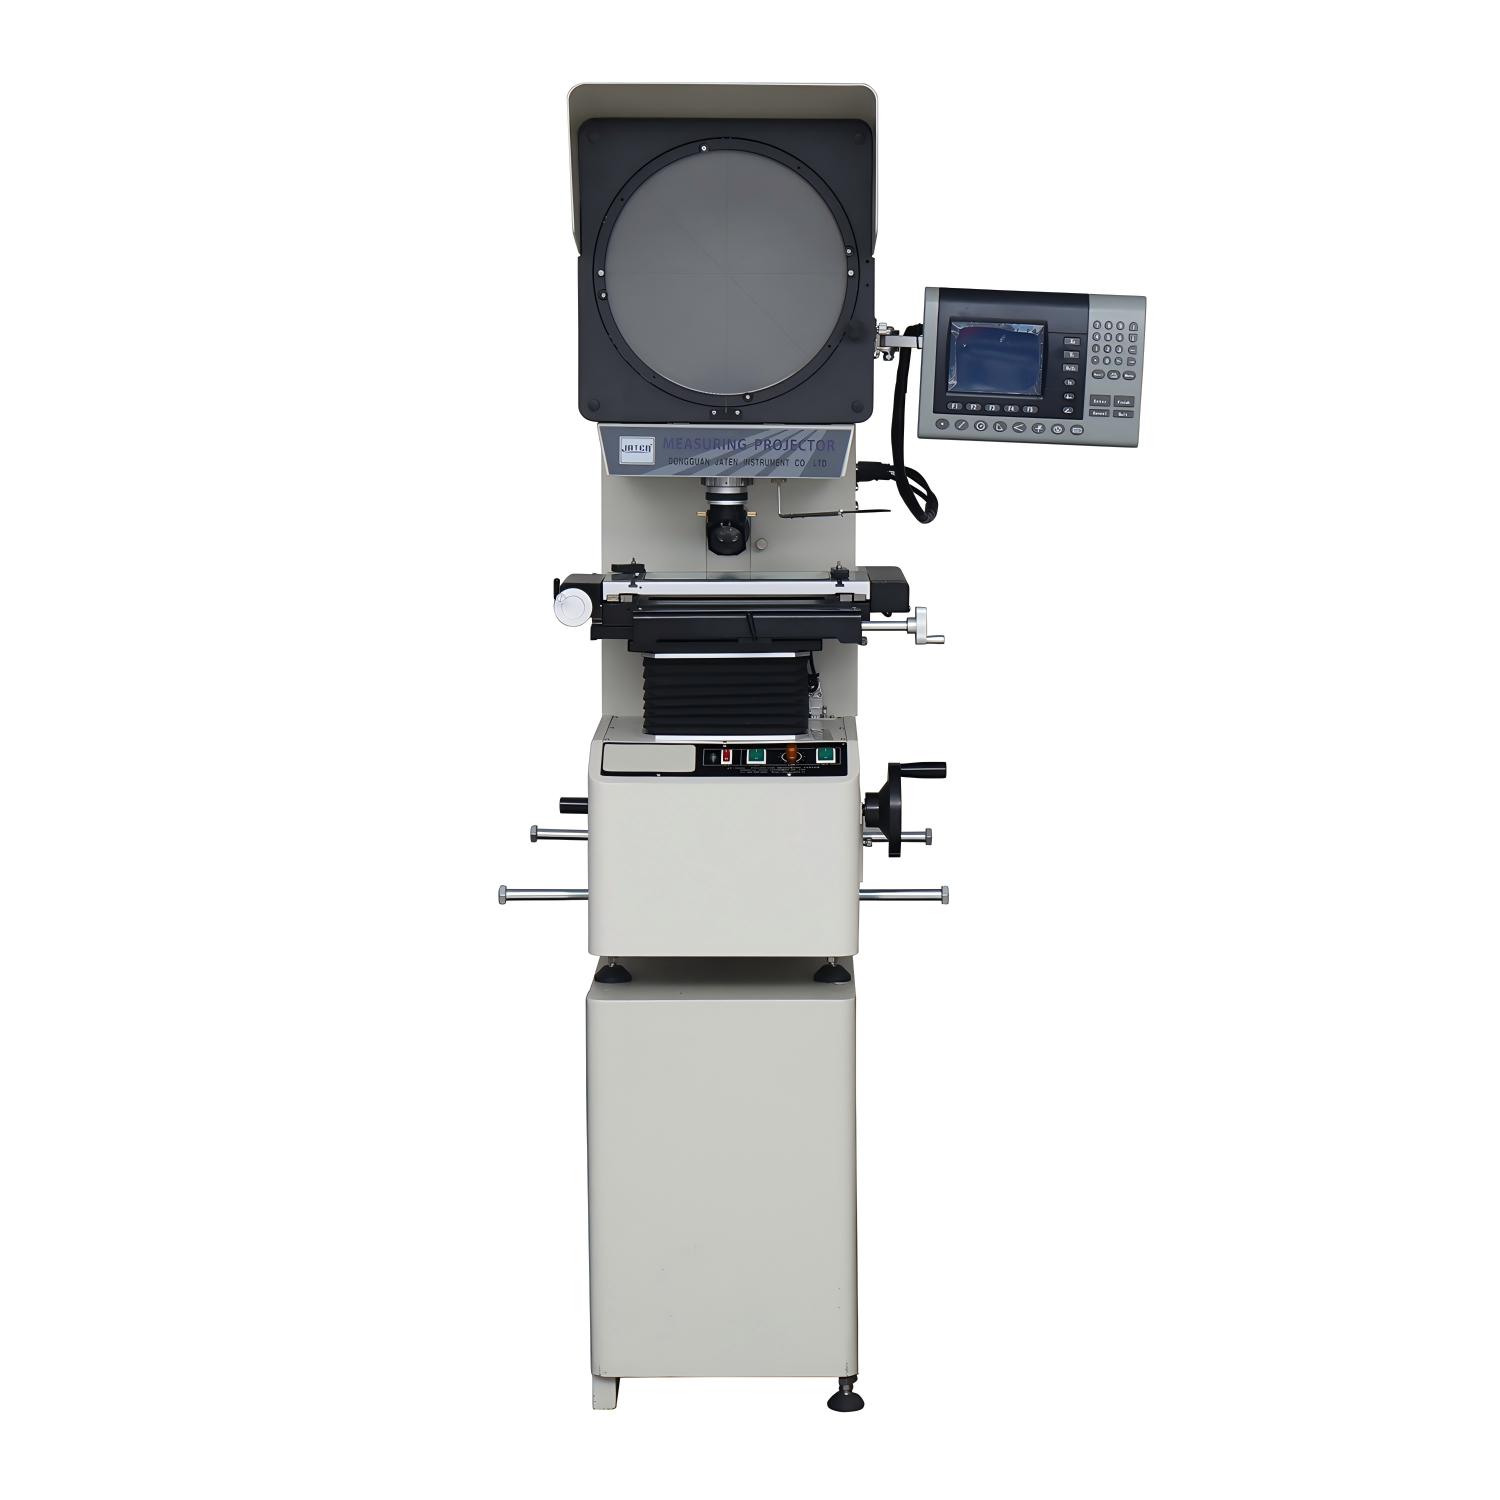
Choosing a profile projector isn't as simple as comparing technical spec sheets side by side. The right machine depends on the parts you measure, the tolerances you defend, and the questions your current inspection setup can't answer. Maybe your magnification needs are creeping upward, or your lighting can't handle a new batch of surface finishes. Before you lock in a model, it pays to know which features actually move the needle—and which ones just look impressive in a brochure. That's where JATEN comes in. Our guide breaks down the selection process into practical checks, so you can invest in a profile projector that aligns with your real measurement workflow—not someone else's.
Understanding Your Measurement Needs
Before selecting any tool or method, take a moment to consider what exactly you need to measure. This may sound obvious, but many projects stumble because the initial scope wasn't clear. Are you looking for a quick spot-check, or do you need continuous monitoring over weeks or months? The answer changes everything from the equipment you choose to how you interpret the data.
Think about the physical environment where measurements will take place. Vibration, temperature swings, dust, or even the presence of other machinery can influence sensor performance. Also consider who will be reading the data—an experienced technician or someone seeing it for the first time? Clear, simple outputs often carry more value than raw precision, especially when decisions need to be made quickly.
Finally, map out the point of decision. What action will this measurement trigger? If the goal is just to confirm that a part fits within tolerance, a go/no-go gauge might be enough. But if you need to predict wear over time, you'll likely require logging and trend analysis. Understanding the end use of your data keeps the entire process focused and prevents overengineering.
Key Features That Impact Accuracy
Several design choices quietly shape how accurate a tool feels in daily use. Sensor placement matters more than most people expect—when the measurement point sits closer to the source of variation, readings stay stable even with slight shifts in grip or angle. Materials also play a role: rigid housings reduce flex that can distort data, while thoughtful shielding keeps external noise from creeping into results.
Beyond hardware, the way a system handles repeated measurements reveals a lot. Averaging over a short window smooths out tiny fluctuations without masking real changes, but only if the sampling rate is high enough to catch meaningful detail. Calibration routines that adapt to ambient conditions—temperature, humidity, even battery voltage—prevent slow drift from turning into noticeable error over weeks of use.
Finally, edge cases define practical accuracy. A device that performs well on a lab bench but struggles with oily surfaces or low-light environments will disappoint in the field. Engineers who test against messy, real-world scenarios and publish honest tolerance ranges tend to build trust faster than those chasing a single idealized number.
Comparing Optical vs. Digital Systems
At first glance, optical and digital systems seem to chase the same goal—capturing a clear, detailed image—but they go about it in fundamentally different ways. An optical system relies on physical elements: curved glass lenses that bend light, prisms, mirrors, and mechanical movements. When you turn a zoom ring on a traditional camera, the lens elements physically shift to change the focal length, projecting a genuinely larger image onto the sensor or film. A digital system, by contrast, leans on software and electronic processing. Digital zoom doesn't move any glass; it simply crops into the center of the frame and then interpolates new pixels to fill the gaps. The result is often a softer, noisier picture because the sensor never actually captured more detail—it just stretched what it had.
The difference becomes obvious when you push both systems into challenging conditions. In low light, an optical system with a wide aperture lets more photons hit the sensor, preserving color fidelity and reducing noise. A digital system can try to compensate with multi-frame noise reduction or AI-based upscaling, but these methods introduce their own artifacts—waxy skin textures, halos around edges, or a painterly smoothness that looks unnatural at full resolution. On the other hand, digital systems win on size and adaptability. A phone can pack multiple cameras and a neural processing unit into a pocket-sized slab, while a comparable optical zoom lens would add bulk and weight. Software updates can also improve digital image processing over time, whereas an optical design is fixed once the lens leaves the factory.
In practice, most modern imaging tools are hybrids. A smartphone might use a periscope lens for true optical zoom at one focal length and then switch to digital crop for intermediate steps. Optical image stabilization physically shifts the sensor or lens element to counteract hand shake, while digital stabilization crops the frame and applies motion compensation algorithms. Choosing between optical and digital isn't about which is universally better—it's about what you value in a given moment. If you need maximum detail and low-light performance, glass still rules. If you prioritize portability, speed, and the ability to tweak results after the shot, digital processing is hard to beat. The smart approach is to know what each system sacrifices and pick your tool accordingly.
Workspace and Ergonomics Considerations
Most people set their chair height once and never revisit it, but the angle behind your knees and the way your weight settles into the seat pan can quietly sabotage your back. If your feet dangle or you feel the front edge pressing into your thighs, you'll instinctively slide forward and round your lower spine. A small footrest, a slight downward tilt of the seat, or even a folded towel under your sit bones can shift the pressure enough to keep your pelvis neutral without any pricey add-ons.
Monitor position is another place where small adjustments pay off quickly. The top line of your display should sit at or just below eye level, and the screen should be far enough away that you don't need to crane your neck or squint to read. If you're on a laptop, propping it up on a stand and switching to an external keyboard and mouse is often the single biggest change you can make—it lets your shoulders drop back and your wrists stay straight instead of reaching up and forward all day.
Perhaps the most overlooked piece is that no single posture—no matter how 'correct'—is meant to be held for hours. Your body craves variation, so alternate between sitting and standing if you can, shift your weight from side to side, and build in short breaks to stand up and look at something farther than your screen. Thirty seconds of walking or stretching every half hour will do more for your spine and focus than an expensive ergonomic chair that locks you into one position.
Budgeting Without Sacrificing Quality
Most people assume a tight budget means settling for less—cheaper materials, rushed work, or generic results. But that’s a false trade-off. The key is prioritizing where quality actually matters, rather than spreading money thin across every line item. For example, investing in durable core components while opting for simpler finishes on less visible elements can keep costs down without compromising the final outcome. When you focus spending on the few features that define the experience, you preserve the integrity of the whole without inflating the price tag.
Another practical lever is timing and sourcing. Buying off-season, negotiating with suppliers for volume discounts on a few high-impact items, or choosing locally available alternatives that meet the same performance standards can shave significant costs. It’s less about cutting corners and more about being strategic: understanding which specifications are non-negotiable and which are just nice-to-haves. This approach turns budgeting from a constraint into a creative challenge—finding overlooked ways to deliver the same level of quality at a lower cost.
Finally, involve your team or partners early in the budgeting conversation. Frontline insights often reveal where money is being wasted on redundant processes or over-engineered solutions. A collaborative review can streamline workflows, eliminate unnecessary frills, and reallocate funds to areas that genuinely elevate the end result. Quality isn’t a luxury reserved for big budgets; it’s a function of disciplined choices, honest evaluation, and a willingness to question default assumptions.
Maintenance and Long-Term Reliability
Keeping a system running smoothly over the years is less about constant tinkering and more about thoughtful, quiet design choices. When every component is spec'd with headroom and accessible without a teardown, routine checks become second nature. Swapping a filter, retorquing a fitting, or visually inspecting a wear point shouldn't require a service manual and a spare afternoon. That ease of upkeep is what separates equipment that feels like a burden from equipment that simply works in the background.
Long-term reliability, the kind measured in decades rather than warranty periods, comes from resisting the urge to overcomplicate. Redundant systems often introduce more failure modes than they prevent. A simpler architecture—fewer moving parts, fewer proprietary connectors, fewer software dependencies—tends to age more gracefully. Materials that develop a patina instead of corroding, seals that remain pliable in temperature swings, and electronics rated well beyond their operating range all contribute to a machine that doesn't surprise you later.
Ultimately, the best maintenance story is one nobody talks about. Equipment that rarely needs attention, and when it does, offers clear, unambiguous access and documentation, earns trust quietly. That trust is reflected in lower total cost of ownership and fewer unplanned downtimes. Owners stop thinking about the system and start relying on it, which is exactly the point of engineering for the long haul.
FAQ
Start with the size and type of features you need to measure. If you're checking small turned parts, a compact benchtop unit with 10x or 20x magnification often works, but larger stamped components may require a floor-standing model with a bigger screen and wider stage travel.
It depends on the smallest detail you must resolve. 10x is common for general inspection, 20x for tighter tolerances or fine threads, and 50x or higher for micro features. But higher magnification narrows your field of view, so you'll spend more time moving the stage.
Not necessarily. A larger screen helps when multiple people need to view the profile at once or when you're comparing against an overlay chart, but it adds cost and takes up bench space. For routine single-user checks, a 300mm screen is usually plenty.
Stage travel limits the part size you can measure without repositioning. If you often inspect parts longer than 100mm, look for a model with at least 150mm of X-axis travel. Also check the load capacity if you're placing heavy castings or fixtures on the stage.
Halogen gives a warm, high-contrast profile edge but runs hot and bulbs need replacing. LED stays cool, lasts much longer, and often provides more stable brightness. For most modern shops, LED is the safer default unless you have a legacy process tied to halogen color temperature.
If you're only checking a few dimensions occasionally, manual micrometer drums work fine. But if you need to record results, compare to CAD data, or measure angles and radii quickly, a digital readout with basic measurement software saves a lot of time and reduces transcription errors.
Most quality units quote linear accuracy around 0.1% of the measured length or better, but real-world accuracy depends on stage alignment, lens quality, and operator technique. Ask for a calibration certificate and test with a known standard before relying on it for final inspection.
A used profile projector can be a great value if the optics are clean, the stage moves smoothly, and the lamps or LED retrofit are in good shape. However, older units may lack current software support or replacement parts. If you depend on it daily, a new model with warranty and service support often pays for itself.
Conclusion
Choosing a profile projector starts with a clear-eyed look at what you actually need to measure. Are you checking simple two-dimensional profiles, or do you need to capture complex surface details and edge variations? This early decision shapes every other choice. Pay close attention to the features that influence accuracy: lens quality, stage travel precision, and illumination consistency all matter more than a long list of extras. Optical systems remain dependable for fast, high-contrast inspections where a skilled operator reads shadows and profiles directly. Digital systems, by contrast, offer image capture, automated edge detection, and easier documentation, but they add cost and demand more setup time. If your work involves repetitive measurements or requires traceable records, digital may be worth it; for quick pass-fail checks on simple parts, a well-built optical unit is often the smarter buy.
Workspace and ergonomics deserve equal weight. A projector with a bulky footprint can slow down daily routines, especially if operators must lean or reach awkwardly to load parts. Look for a screen angle and stage height that reduce strain over long shifts. Budgeting does not mean settling for the cheapest option; instead, prioritize a solid mechanical base, reliable optics, and a brand known for service support. Those fundamentals often outlast flashy software upgrades. Finally, consider maintenance and long-term reliability. Ask about spare part availability, lamp life, and how easy it is to clean the lenses and stages. A projector that is easy to calibrate and service will keep delivering accurate results for years, while a neglected or poorly supported model becomes a hidden cost. The right choice balances today's measurement demands with the practical realities of your shop floor and future workload.
Contact Us
Contact Person: Volien
Email: [email protected]
Tel/WhatsApp: +86 18029161762
Website: https://www.jatentech.com/